How To Make A Soft Toy Rabbit? In 14 Awesome Steps!
Indeed, anyone would love to make a new rabbit stuffed toy, especially when you are a rabbit owner, you will surely enjoy that.
How to make a soft toy rabbit? It is effortless and straightforward that you can finish in the afternoon, and making this soft toy rabbit is excellent to use recycled materials like old fabrics and scraps.
Making a do-it-yourself stuffed toy is more fun because you can choose whatever type of cloth you want, and you can choose any color and design that you want too.
This article will help you learn how to make soft toy rabbits and what things you need to do that.
Let’s get started!
Things You Will Need to Make A Soft Toy Rabbit
For you to make an adorable stuffed rabbit toy, you will need;
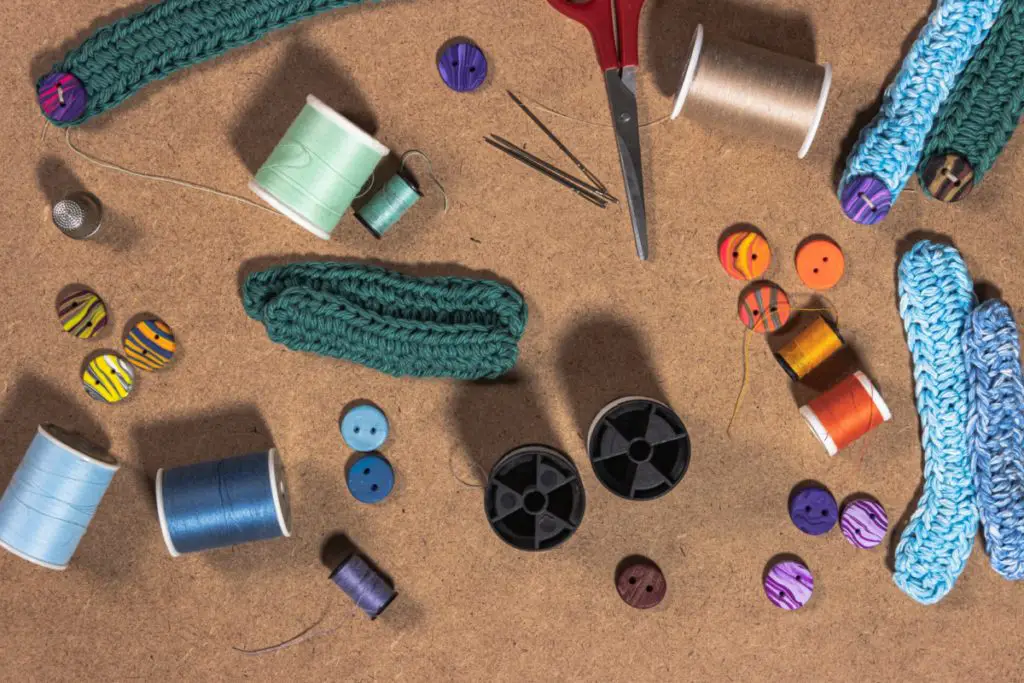
Fabric
For the body of the toy rabbit, you can use a fluffy fabric like a Minky fabric, but you can use whatever material you want as long as it’s smooth and soft, and you will enjoy it.
For the ears of the toy, you can use a quilting weight fabric that kids would like.
Cardboard or a large paper
This is where you will draw your style and design of your toy rabbit, and you can also recycle old boxes of toys, powdered milk boxes, or cereals.
Stuffing
You can recycle old clothes or other fabric for stuffing, or you can use a polyester toy filling and buy it online.
Threads and needle
Prepare any color of thread for a more colorful outcome, also; add a coordinating thread for stitching and sewing the parts
Yarn
This is for the tail of your bunny toy. Pick two colors or more depending on your own choice!
Scissors
For cutting the pattern, the soft fabric and the threads.
Writing tools
Pencil for drawing and marking.
Sewing machine
If you don’t have a sewing machine, it’s okay to hand stitch, but it is much easier and faster if you use a device.
Reminders And Notes
Before you start, make sure to take note of the following:
Standard allowance
All seam allowances should be 5mm unless otherwise are stated.
Fabric
You wash all fabrics before cutting them out.
Templates
The templates should also have a seam allowance of 5mm and should have a printed direction in the form of arrows for cutting and marking purposes.
Steps In Making A Soft Toy Rabbit
There are 14 steps that we will need on how to make a soft toy rabbit, and indeed this is fun and a lot of excitement!
Step #1. Make your pattern
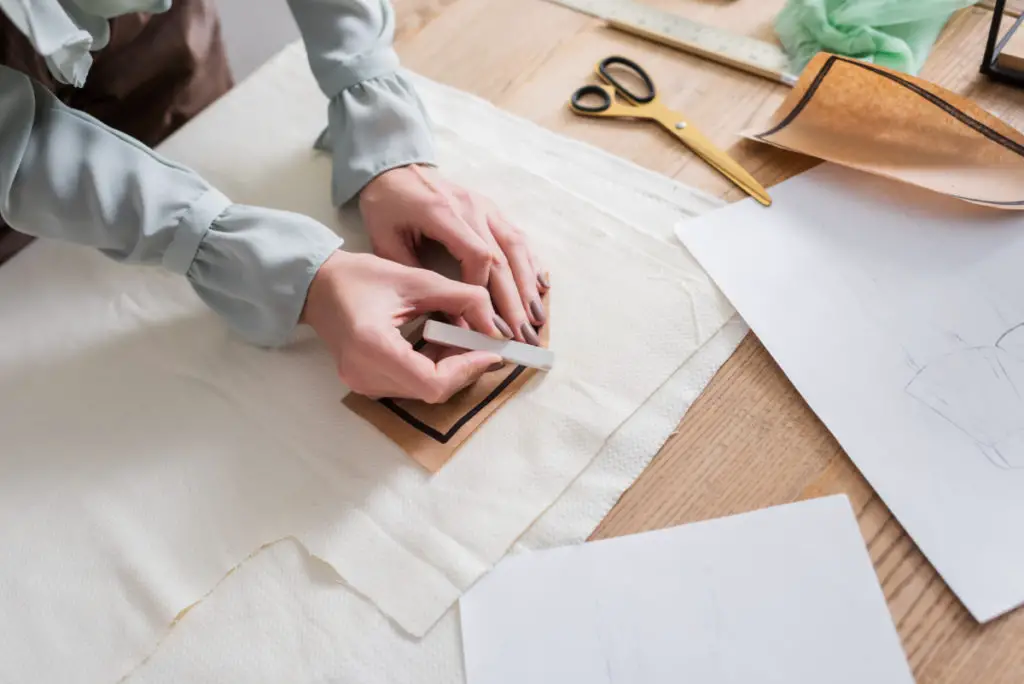
Draw your desired style out of cardboard or large paper for the rabbit’s body, and it is fun because you can freehand your outline pattern of how you want a cute soft toy rabbit to look.
You don’t need to add the ears because we will sew them separately. Our creativity makes us happy sometimes!
So, do it freely.
Step #2. Cut the bunny pattern
Cut out those masterpieces of yours, for this will be your guide in making your toy.
Step #3. Place your guide onto the soft fabric
Lay the cardboard pattern on the fabric and trace it.
I suggest choosing a plain color for the toy rabbit’s body but not white because it could easily get dirty very quickly!
But it depends on your desired color and prints.
Step #4. Cut the newly traced pattern
Cut the fabric pattern and make sure to have a 5mm seam allowance for sewing purposes.
Cut two pieces, one for the front and one for the back of the rabbit.
Step #5. Make an ear pattern
Draw the ear pattern out of cardboard, like the shape of your lovely pet bunny ears or just what style and shape you want.
Step #6. Cut four ears in the fabric
Lay the ear pattern to the first fabric the same as the body’s color and cut two pieces and for the second fabric, cut two pieces for the inner part of the ears.
Step #7. Make the ear first
In this step, you will make the ears first because you have to attach them to the soft toy bunny’s head before sewing the head and the ears together.
Lay the first fabric and the second fabric together to sew the ear’s sides, leaving only the bottom of the ear, and flip it out, making the stitches place inside the ear.
Step #8. Fold the edges
Once you are done stitching and flipping both ears, fold the edges of the ears toward the inside, facing both edges each other like you are making a half-open cone, and sew them in place, making it look like your cute little rabbit.
Step #9. Placing of the ears
Place the ears where you want to put them on the toy’s head.
Flip them. Make sure that the inner ear is facing down inside the bunny’s face.
Also, the outer part of the ears should be facing up and making a letter X; sew them at the bottom part of the back of the ears.
Flip them back up, ready for the next step!
Step #10. Place the second body pattern
Put the other fabric pattern on top of the first fabric with the ears inside.
Make sure both ears are pushed to the center so you won’t catch them when you sew the sides and edges of the bunny’s head and body.
Step #11. Sew the toy rabbit
Start sewing the bottom part of the bunny’s legs.
Up to the whole body of the rabbit, but make sure you left 4 inches unsewn at the rabbit’s side for you to have easier access for flipping and stuffing.
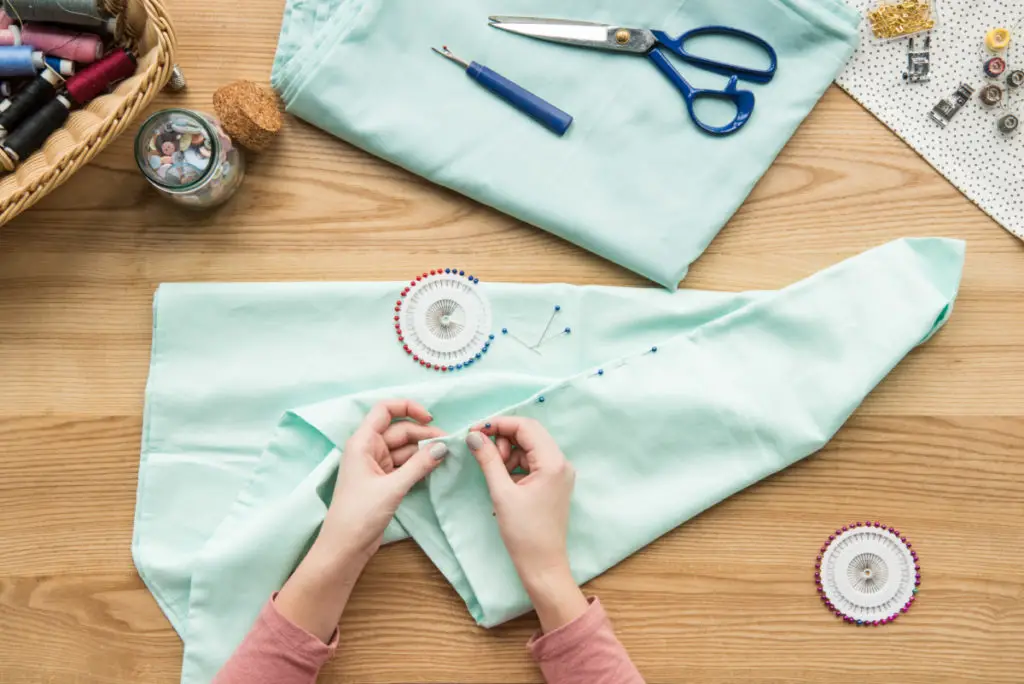
Step #12. Flipping and stuffing
This is the exciting part, the flipping!
Flip it out to see the full shape of your toy rabbit and place some recycled cloth, or you can also use a polyester toy filling.
Make sure you stuffed right up to the arms and legs of the bunny.
Step #13. Hand stitching
Once you have stuffed the rabbit, hand stitch the opening with a coordinating thread.
Step #14. Rabbit’s tail
Don’t forget the tail!
Make a cute little pom-pom out of yarn and just stitch it to the bum of the toy.
You can also put a shiny black button for the rabbit’s eyes, nose, and mouth!
Conclusion
So there you have it!
It is fun stitching and making your bunny toy, especially when you have an adorable bunny at home. The major benefit of making a bunny toy at home is that you can choose the color and stuff according to your choice.
I hope this article helps you how to make a soft toy rabbit for your cute little pet bunny and also you can give this to your friend who loves rabbits. They would feel so special and loved!
Thank you for reading!
