How To Make Dog Booties (DIY Guide)
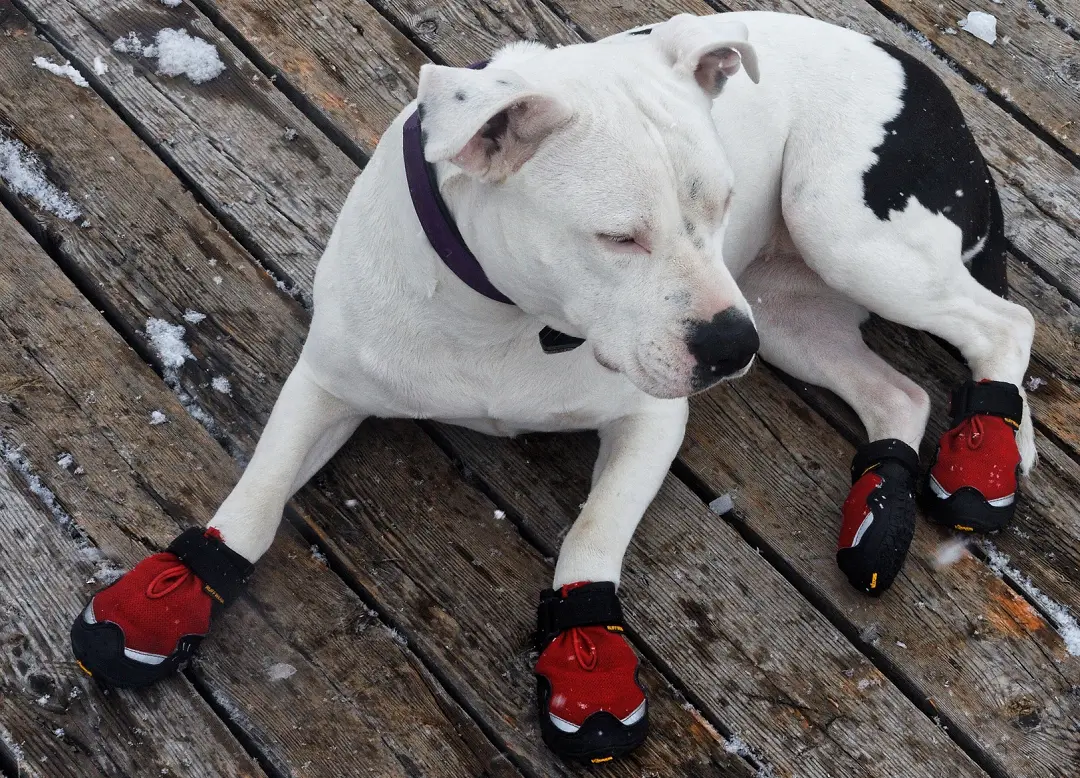
Dogs’ paws are sensitive, so you should keep them protected at all times. During a hot day, your dog’s paws will sustain burns on hot pavement. Also, walking on the snow “bare paw” will expose your dog to the risk of frostbite.
To prevent this from happening, you should know how to make dog booties. You only need fleece, suede, double-sided Velcro, and some creativity. Everything you need to know to make booties will be shared in this article.

Why do dogs need booties?
Booties will help domesticated canines prevent any paw damage. Imagine yourself walking barefoot – it feels slightly the same for your pup. So instead of letting the doggo suffer from the discomfort, you might as well make them DIY booties.
So why do dogs need booties, specifically? Here are some of the reasons why:
- Burns. During the summer months, the hot pavement will be scorching. And if you decide to walk your dog, it will torch their paw pads. In an air temperature of 77F, asphalt pavement will be as warm as 125F. As the air temperature increases, the pavement temperature increases exponentially. This is why dog booties are important.
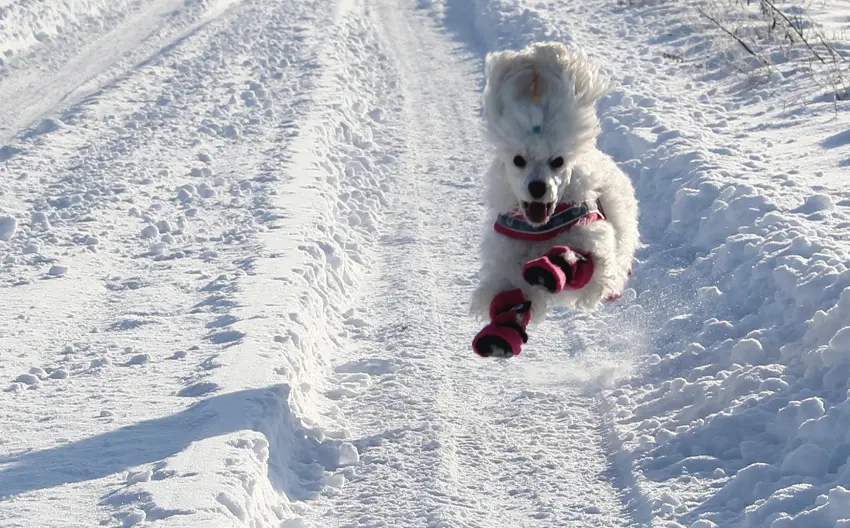
- Frostbite. Although your dog has fur to protect it from very low temperatures, its paws are vulnerable. It’s in direct contact with snow, not to mention the salt applied along the road to thaw the ice. It’s best if your dog wears a set of booties in this case.
- No more wiping. After a long walk, you’d have to wipe your dog’s paws. But if you have a set of booties, it will save you from the hassle. You can also clean the dog booties on the washing machine. When the booties get worn out, you can make replacements without spending a lot or even anything!
- Prevent scratches on wood floors. Hardwood floors are prone to scratching, so it’s best to put booties on your dog to prevent this. Just give the pooch some time to get used to it. Also, I suggest stitching a non-slip material on the booties’ soles so your dog won’t slide around while walking.
- Sharp objects. Setting aside the temperature and convenience, dog booties shield your pet’s paws against sharp objects outdoors. There could be pointed twigs, shards of glass, and other objects that could pierce through your dog’s paw pad.
How do you make dog booties?
You can easily make dog booties at home, so you no longer have to spend on commercial options. The process is relatively simple, and the materials can be purchased in most stores near you.
What you need:
A few feet of black fleece
Suede (enough to make four 2-inch circles)
Two feet of double-sided Velcro
Sewing machine (or by hand if you want)
Procedure:
- Step 1. Trace your dog’s paws
Do you remember as a kid when your mom used to trace your feet to buy shoes? You should do this to your dog as the first step. This will ensure that the booties will fit the pooch well. Place each paw on a white paper and start tracing, minding how long you want the bootie to be. Usually, 6 inches is enough for large dogs.
After that, draw another outline along the trace, which should be more significant at about one centimeter. Cut all the traces but make sure that you follow the outline you last drew, which is bigger than your dog’s paws.
- Step 2. Cut the material
Take the black fleece fabric, fold it in two, then place the paw cut-out on top of it. Use the cut-out as a guide in cutting the fabric, which should produce a bow tie-like shape.
After cutting all four paw traces, set aside the black fleece. Grab the suede material and make four circles that are two inches in diameter (one for each paw). You can use a tape roll for a perfect circle. This will be the sole of your dog’s booties, which will serve as insulation to both heat and cold. However, if you have a large breed, you should make a bigger circle.
- Step 3. Attach the suede to the fleece
The next step is to sew the circular suede into your bow tie-shaped fleece cut-out. So, where should you stitch it? It should be on one side of the fleece, just after the indentation that creates the bow-tie appearance. Why? Because the longer length will be the front side of the booties since your dog’s paws have a horizontal part, much like human feet.
You can use a sewing machine to stitch the suede since it’s stiffer and harder to attach by manual sewing. Do this on all four cut-outs that you have.
- Step 4. Stitch the Velcro strip
Once you have the suede circles on, the next step is to stitch the Velcro strip. This will serve as the bootie’s band or enclosure so it won’t fall off your dog’s paws. You should stitch it beside the suede circle, on the widest side of the bow-tie shape. Remember, the suede circle is the sole of the booties you’re making.
- Step 5. Final stitch
The final stitch is done to make the booties more like a sock. To do this, fold the black fleece equally, with the suede circle hidden inside. After that, stitch the sides of the bootie, until you have a small sock.
Lastly, flip the bootie from the inside out, and you’re done. Your dog now has a set of booties it can wear outdoors!
How to make dog booties from socks?
Now, if you don’t have black fleece and suede, you can improvise with some old socks. This will also save you from a lot of stitching. It’s also a great alternative if you don’t have the time to go out and shop for some materials.

What you need:
Baby socks or a typical pair
Velcro
Sewing materials
Procedure:
- Step 1. Modify the sock
If you have baby socks that perfectly fit your dog, you only have very little work to do. However, if you only have your own large pair, you can modify it by cutting out some parts.
First, trace your dog’s paw on a piece of paper. After that, use the cut-out to trim the sock. I recommend keeping one side of the sock intact, so you only have to stitch the other side. You should also mind how long the booties will be.
You have to make four dog booties, two for the front paws, and another pair for the rear. Please read more: Why Does My Dog Lift His Front Paw
- Step 2. Stitch it up
Once you have the right sock fit for your dog (you can try it on their paws to be sure), stitch the open side until you have a small sock. Remember to sew on the inside side of the bootie. This will hide the seams, which will prevent your DIY bootie from unraveling.
- Step 3. Attach the Velcro
The last step for these DIY dog booties is to stitch the Velcro into each sock. The Velcro will act as the band to keep the booties snugly on your dog’s paws.

First, flip the sock inside out, so the seams are hidden. After that, stitch the Velcro about a centimeter from the top of the booties. Make sure that you stitch it well so it won’t come off quickly. If you have, please use a sewing machine instead.
Voila! Your dog now has a set of DIY booties. The beauty here is that your socks didn’t end up getting wasted. You can also keep on making booties out of your old socks once the first set gets worn out.
Conclusion
Instead of letting your dog endure the discomfort, you can make them DIY booties. Above, I discussed how to make dog booties from socks and fleece fabric. You can also use other materials with little creativity. What matters is that your dog is comfortable and well-protected.
Do you have a DIY bootie project? Share the steps with us in the comment section!
You can read more interesting articles on Petcosset.

