How To Treat Clipper Burn On Dog: 3 Easy Steps
Did your dog get a nasty clipper burn from the groomer? Or did your DIY dog haircut went awry? In this case, you should know how to treat clipper burn on dog to save the poor canine from discomfort.
Below, I’ve outlined quick steps to provide relief on your dog together with some tips to prevent clipper burn in the future.

How does clipper burn happen?
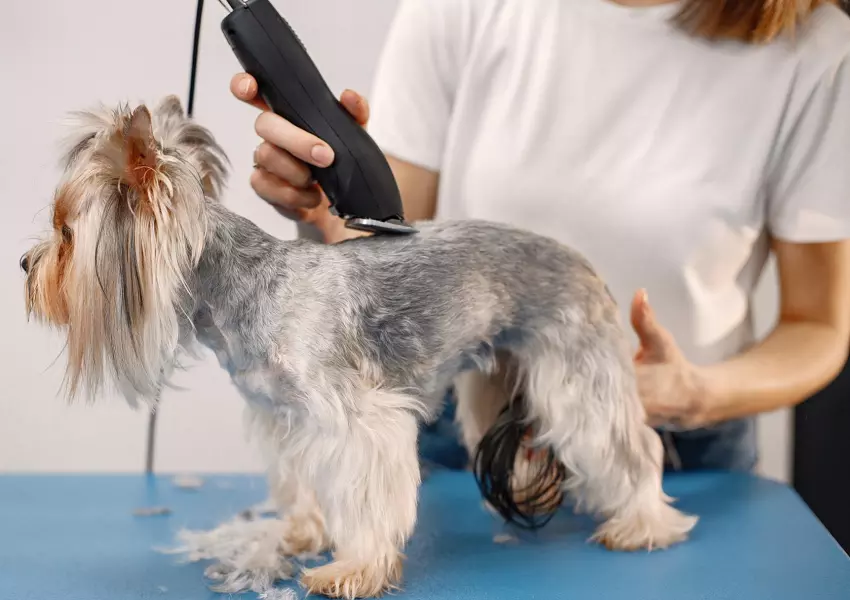
Clipper burn in dogs occurs after grooming. Also known as razor rash, it’s not that uncommon, and it’s fairly easy to treat.Canines suffering from clipper burn will have raw or inflamed skin on the affected part.
However, it doesn’t have bumps or rashes as with skin infections. It’s often the result of too much friction applied to the skin.
Most grooming tasks with a clipper doesn’t always end up with clipper burn. It mostly takes place if you shave or trim your dog’s fur too close to the skin. However, dogs with very sensitive skin can also suffer from clipper burn, even on minor trims.
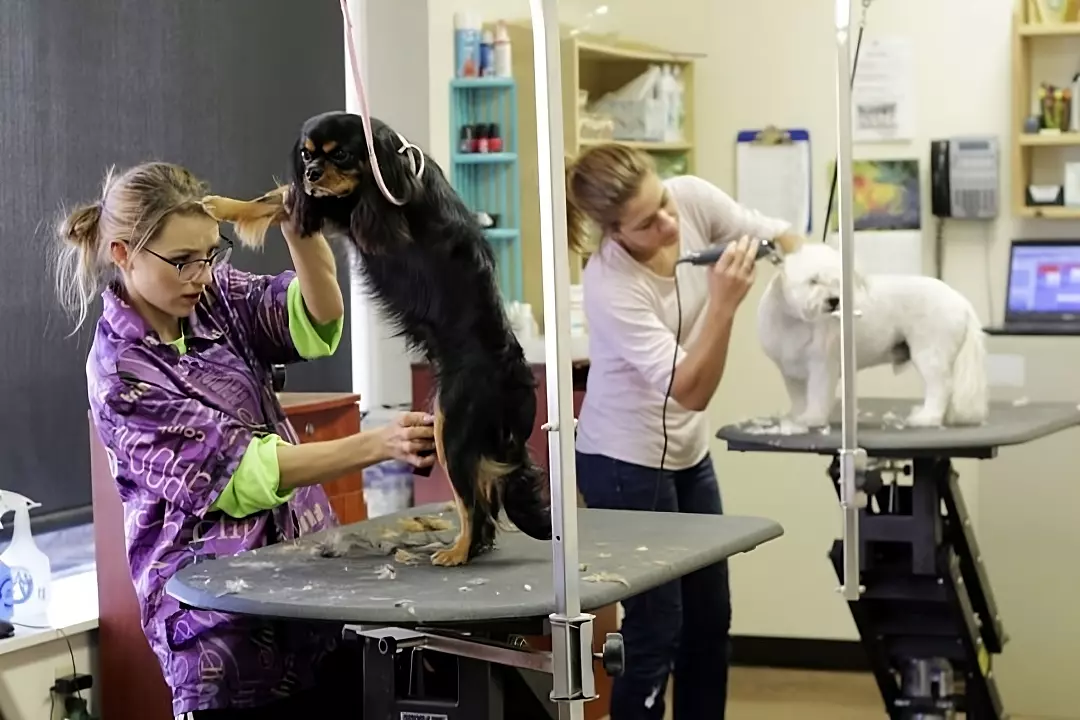
Many cases of clipper burn occur after a trip to the groomer. Still, a professional and experienced groomer should know how to prevent this problem. It’s also important to inform your dog’s groomer about its skin sensitivity so that they can adjust the grooming process accordingly.
Take note that clipper burn doesn’t show right away. It may take days before it starts to develop redness. You must check your dog’s skin regularly to spot the clipper burn. It’s important to spot the irritation right away before your dog paw and lick the affected area excessively. Such a response from your dog can trigger further irritations and potential infection.
Common causes of clipper burn in dogs
Clipper burns are highly preventable, but some groomers or pet owners tend to fall short on preventive measures. To give you an idea, the following are the most common causes of clipper burns:

Dull clipper blade
A dull clipper blade is the most common culprit behind razor rash. The dull blade tends to pull and drag the fur as you glide it through the dog’s coat. This will result in inflamed and irritated skin.
Aside from that, inexperienced dog groomers will push the clipper harder to compensate for the drag. This makes matters worse. Imagine yourself getting a haircut with a dull blade, and you’ll understand the point.
Overheating clipper
Aside from dull blades, an overheating clipper can also be the reason behind your dog’s razor burn. This problem is common when grooming large dogs as it takes more time to finish off their coat.
If the groomer fails to let the clipper cool down, the blade will get hot and cause damage to the skin. And if paired with a dull blade, the clipper burn will be much worse.
Skin allergy
Some dogs have very sensitive skin, which increases their risk of developing clipper burn. If your dog has a history of various skin inflammation, you must inform the groomer about it.
Clipping too close to the skin
Lastly, giving your dog a close shave has a high chance of ending up in clipper burns. While it’s not a good idea to shave a dog clean, some occasions call for it. For example, the vet may need to close-shave a portion of your dog’s coat for surgery.
Heavily matted hair
Neglected canines with heavy and thick mats are prone to clipper burn. This is because the groomer has to apply more pressure when clipping the bulk of matted fur. It’s considered normal and can be treated later on.
How to treat canine clipper burn
If your pet is suffering from clipper burns, you should take the following steps:

Step 1. Clean the area
Once you discover the clipper burn, it’s important to assess it first. Are there rashes? Pus? You have to consider whether you need to take your dog to the vet or just treat the problem at home.
Oozing blood or discharge is a sign that your dog needs veterinary care. In this case, home remedies may aggravate the situation, so it’s best to seek the help of a veterinarian.
If your dog only has raw and uninfected skin, the next step is to wash the area. Use cool water and dog shampoo to remove deep-seated dirt. Stay gentle and avoid rubbing the raw area too much.
After that, pat the area dry or use a blow dryer with a cool setting. Never blow dry a clipper burn with heat, as this will make it more irritated.
Step 2. Apply a topical remedy
Next, you need to apply a topical medication to ease the inflammation and redness of the clipper burn. You can call your dog’s vet to ask for recommendations.
Neosporin is a common option here as long as the clipper burn is small and not infected. If your dog is allergic to this medication, you can try Vetericyn. This is an over-the-counter medication used for animals to moisturize and balance the pH of the skin. It will also speed up the healing of the razor rash.
While pure aloe vera gel seems like a natural and effective solution, you should steer clear of it at all cost. Aloe vera gel straight from the leaf contains saponins, a toxic substance for dogs.
Instead, you can use OTC Aloe vera blends, but with extreme caution. You should put your dog on an Elizabethan collar while the topical treatment is ongoing. This is to prevent the canine from licking the medication. please read here Everything you need to know about dog collars
Step 3. Monitor your dog
Lastly, monitor your dog in the succeeding days. If your pet’s clipper burn becomes more irritated, stop using the topical medication you’re using and bring it to the vet’s clinic right away.
Depending on the extent of the clipper burn, it may take a few days or a week to fully heal. However, if your dog’s conditioning isn’t improving nor worsening, the vet is always the best person to call.
How to prevent clipper burn in dogs
As mentioned, clipper burn is highly preventable. The following tips will help a lot in saving your dog from suffering:
- Change your clipper blade regularly. Groomers should change their clipper blades every 4 to 6 weeks to ensure that it’s sharp for every client. Some blades can be re-sharpened to prevent it from pulling and dragging the dog’s fur.
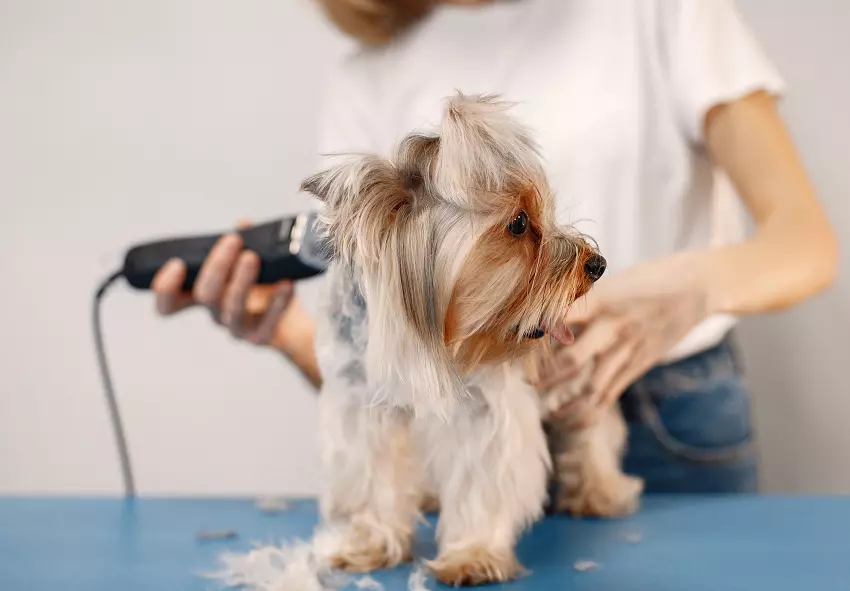
- Be gentle. If you’re performing DIY trim for your dog at home, always control the force you’re applying on the canine’s skin. Keep it gentle and stop if your dog winces or cries. This means that your trimming is painful.
- Oil your clipper. Aside from keeping the clipper blade sharp, you should also keep it oiled. This will prevent the tool from overheating and irritating your pet’s skin.
- Apply a soothing spray after trimming. After trimming your dog, it’s important to apply a soothing spray or coat moisturizer. This will prevent the skin from being inflamed. Still, make sure that your dog isn’t allergic to the soothing spray you’re going to use.
Wrapping Up
Knowing how to treat clipper burn on dog is a necessary skill for every pet owner. This will save your dog from irritation and your pocket from vet bills. You should also practice caution, so your pet won’t sustain razor rash in the future.
